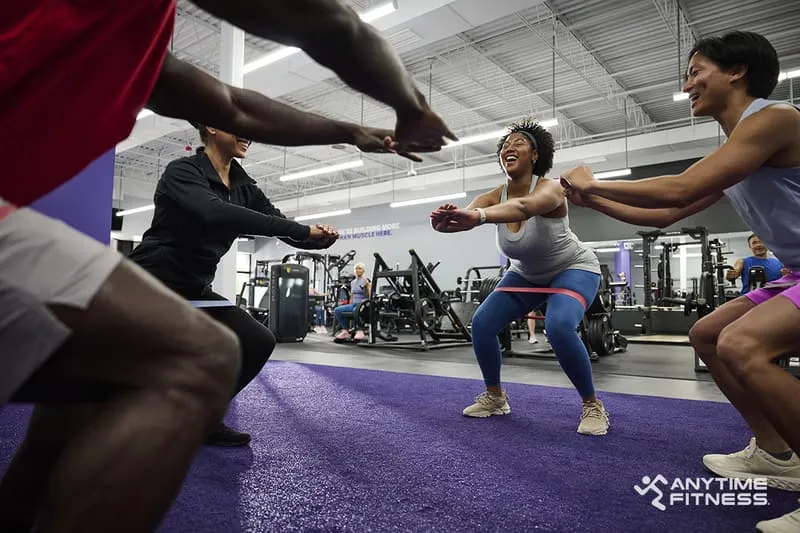

Have you ever been in the stretching area of your gym and noticed a circular piece of foam just sitting there? We have too! Most people don’t know that they don’t have to spend thousands of dollars with a massage therapist or personal trainer to get a good deep tissue massage. Today, we dig into what a foam roller is, how to use it, and why it’s beneficial for your workout routine!
What Is Foam Rolling?
Foam rolling is a self-myofascial release technique used to alleviate muscle pain, help sore muscles, and increase blood flow. Fascia is a connective tissue that makes up the soft tissue within the human body. It wraps around muscles and internal organs to separate and stabilize them. Normally, fascia is great at doing its job, but sometimes it can tighten around muscles and cause knots, also known as trigger points or adhesions, in muscle tissue. That’s where self-myofascial release comes in.
Self-myofascial release is the term used in physical therapy to describe foam rolling. It essentially means self-massaging your own fascia tissue to release the stress within fascia and soothe sore muscles. Using a foam roller or muscle roller is an easy way to administer this self-massage, without going to a physical therapist. Foam rolling uses body weight to generate direct pressure to the “knots” or trigger points in the body. Often thought of as an “athlete’s only” piece of equipment, the foam roller is a great tool for anyone needing to release muscle tension (and we ALL have a bit of muscle tension from sitting too long, exercise, or general tension). You can foam roll just about any body part, from your neck to your IT band. Imagine using a rolling pin to roll out lumps in bread dough and you’ll get the picture.
What Are The Benefits?
Rolling is beneficial before and after your workout, though people have different preferences on when to roll. Foam rolling prior to a workout can help decrease muscle density and allow for a better warm-up. Rolling after a workout can aid in recovery for sore muscles after strenuous exercise. There’s really no wrong time to do the thing – just make sure you do it! Other benefits of self-myofascial release include:
- Improvement in joint range of motion
- Ease of muscle soreness and joint stress
- Help in maintaining functional muscular length
There’s also some evidence that foam rolling can help alleviate chronic pain. For most people, chronic pain occurs after an injury or health condition. Chronic pain is associated with signals that fire from the nervous system, and studies have shown that foam rolling has positive benefits for your nervous system. Foam rolling can also help treat trigger spots that might be causing chronic pain, which is why many physical therapists often recommend it.
The Roller
The roller is a foam cylinder and it comes in a variety of sizes. Most commonly in the gym setting, you’ll see a longer roller, measuring 36 inches with a 6-inch diameter. The density of the foam can vary as well. If you’re new to foam rolling or have particularly tight muscles or trigger points, opt for a softer foam roll. Typically, white rollers are softer, while blue or black rollers tend to be firmer, so if you’re not sure how much pressure to start with, we recommend trying a white roller first.
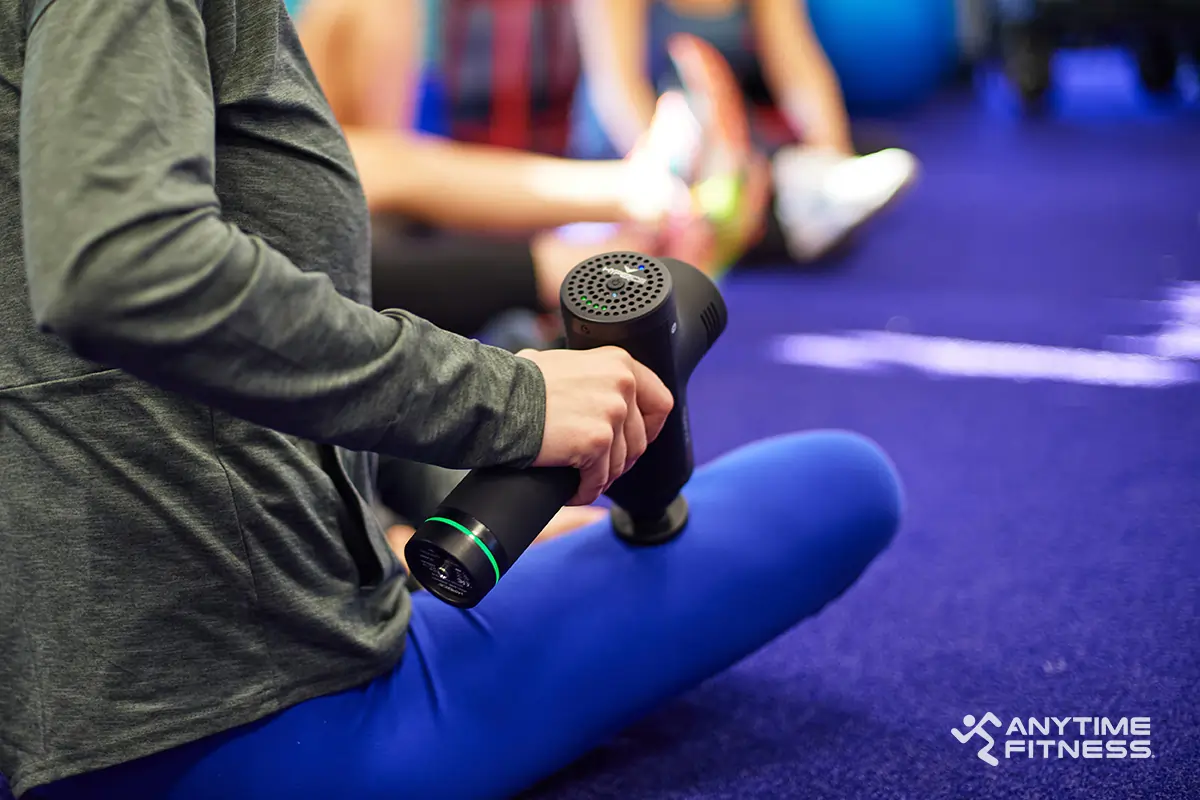
Foam rollers are not to be confused with muscle rollers, although the terms for both things are sometimes used interchangeably. Muscle rollers are also called muscle roller sticks, which is a helpful way to differentiate the two. Muscle roller sticks are long and thin, with handles at either end and a flexible, rubber or plastic roller section in the middle. As opposed to muscle roller sticks, foam rollers are large, thick cylinders of foam, without handles. While both foam rollers and muscle roller sticks help roll your muscles – which is where the muscle roller confusion comes from! – muscle roller sticks are more specific and targeted than foam rollers.
Furthermore, foam rollers are far more likely to be found in a gym than muscle roller sticks, which is why we wanted to share all the information you need to know to try one!
If you don’t have a foam roller, you can also use something like a tennis ball or lacrosse ball for self-massage. You won’t be able to hit large regions, like your lower back, but you can still apply pressure to knots and trigger points. We’d recommend a tennis ball over a lacrosse ball, because we like the extra give, but you can use whatever suits your preference! The best foam roller is whatever you feel gives you the best results.
Key Points for Foam Rolling
Rolling can be effective for many muscles, including calves, hamstrings, glutes, quadriceps, hip flexors, latissimus dorsi, and the thoracic spine. There’s no specific order in which you need to foam roll; you can do what works best for you. Place the foam roller under each muscle group and roll, using long strokes, for 60 seconds until a tender area is found. Once a knot is found, maintain pressure on the knot or trigger point for 30 to 60 seconds by moving back and forth over that surface area. For example, start by rolling your leg muscles, and once you find a point of tension, for example in your calves, continue to roll the calf muscles for 30 to 60 seconds.
Follow up by performing a stretch for each muscle group you just have rolled for maximal benefit.
Tips for Foam Rolling
- Sometimes, it hurts so good! Sometimes, things like foam rolling might be a little uncomfortable and that’s ok. Stick with it!
- Spend at least one minute per area when you foam roll to make sure you’re making an impact.
- Find a friend to hold you accountable to foam rolling after a workout. Think of it as your new cool down!
Easy Foam Roller Routine
Try these simple foam roller exercises and stretches to target areas where most everyone could use a little self-massage love: the upper back, and leg muscles including glutes and thighs.
Foam Roller: Thoracic Spine (Upper Back)
- Begin with the foam roller underneath your shoulder blades.
- Place the hands behind the head for support, or cross the arms over the chest.
- Lift the hips up slightly off the ground, maintain a slight curve in the low back (almost like you are performing a small crunch).
- Use your feet to push forwards and backwards to roll out the upper back, rolling from the shoulder blades to the mid-back.
Stretch: Quadruped Cat/Cow
- Begin on your hands and knees, with your back in a neutral position.
- Inhale and lift the chin and tailbone towards the sky, creating an arch in the back.
- Exhale and tuck the chin and tailbone towards the ground, rounding out the spine.
Foam Roller: Glutes
- This stretch pairing is great for your leg muscles. Begin by sitting on the foam roller, knees bent and feet on the ground.
- Shift slightly to put your weight on your right leg, and begin to roll up and down the length of the glute on the side of your right leg. Don’t shift from side to side; instead, switch sides once one side is complete.
- If you’d like, you can shift the focus of this exercise toward your IT band. Instead of placing the roller under your glutes, shift so that you’re on your side and keep the roller under your IT band. Then, roll from just above your knee and work your way up to your hip, to make sure you get the full IT band.
Stretch: Supine Knees To Chest
- Lie on your back and draw both knees into the chest.
- Keep head and shoulders grounded to the floor
Foam Roller: Quadriceps
- Begin with the foam roller underneath the quadriceps (fronts of the thighs).
- Lift the legs slightly off the ground and place the weight of the upper body on the forearms.
- Push with your arms to roll out the quadriceps by moving forward and backwards from pelvic bone to the knee. Keep your left and right leg even so that you’re rolling the leg muscles at the same time.
Stretch: Standing Quadriceps Stretch
- Stand on the left leg and bring the right foot towards the glutes.
- With the right hand, grab onto the right foot, keeping the knee pointed towards the ground and legs close together.
- Switch sides.