Ah, the elusive pull-up. Whether it brings up memories or middle school phy ed or marks a personal milestone, this bodyweight exercise is the gold standard for upper-body strength because it doesn’t just require muscle — you also need joint stability, core strength, and grip strength. While pull-ups can be intimidating, they are achievable (and they have several functional benefits, like making everyday tasks easier, preventing injury, and improving posture). Let’s break down how to work up to a pull-up, with an overview on:
- The benefits of pull-up training
- How to train for pull-ups (with three levels of exercises)
- Tips to master the pull-up and perfect your form
The benefits of pull-ups
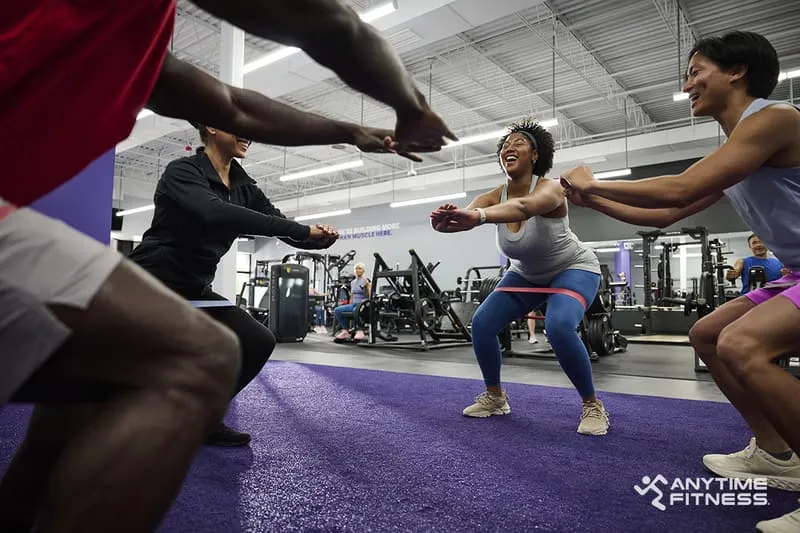
Pull-ups aren’t just for gym buffs — they can be a valuable part of any workout routine, whether your goal is to increase muscle mass and power, lose weight, or simply improve your general health. Here are three benefits of pull-ups:
- Strength: Pull-ups strengthen all the muscles in your back, along with your shoulders, biceps, and core. They also improve grip and forearm strength and help increase muscular size and definition.
- Posture: Strengthening your back helps improve posture, which can reduce slouching and rounding in your back and shoulders. If you sit at a desk or have upper back and neck pain, pull-ups are for you!
- Confidence: Pulling your chin over that bar for the first time can make you feel unstoppable (like finishing a big term paper or work project). Pull-ups require intense training and disciplined consistency, so completing one is a huge accomplishment.
What do pull-ups work out?
Pull-ups primarily work your back and biceps. Think: increased definition and muscle mass, plus improved ability to do everyday activities like lifting heavy boxes or carrying a child. Here’s a more detailed look at the muscles used in pull-up training:
- Agonists (primary movers): Lats, biceps, traps
- Synergists (supporting muscles): Rhomboids, delts, forearms
- Stabilizers (muscles that provide control and stability): Pecs, triceps, core
How to work up to a pull-up in 3 levels
Now, let’s get down to the nitty-gritty. We’ll break the pull-up training process down into three levels to help you build the strength and endurance you need. Each level has a unique strength focus and features different exercises to train for pull-ups. Follow this progression to work your way to an unassisted bodyweight pull-up.
Pull-up training level 1: Build a strong back
While pull-ups help build back strength, attempting a strict pull-up without practice might feel like trying to run before learning to walk. Building a strong set of back and core muscles (and muscular endurance) is key to pull-up success down the road.
Here are five essential back exercises to implement into your strength workouts one to two times a week.
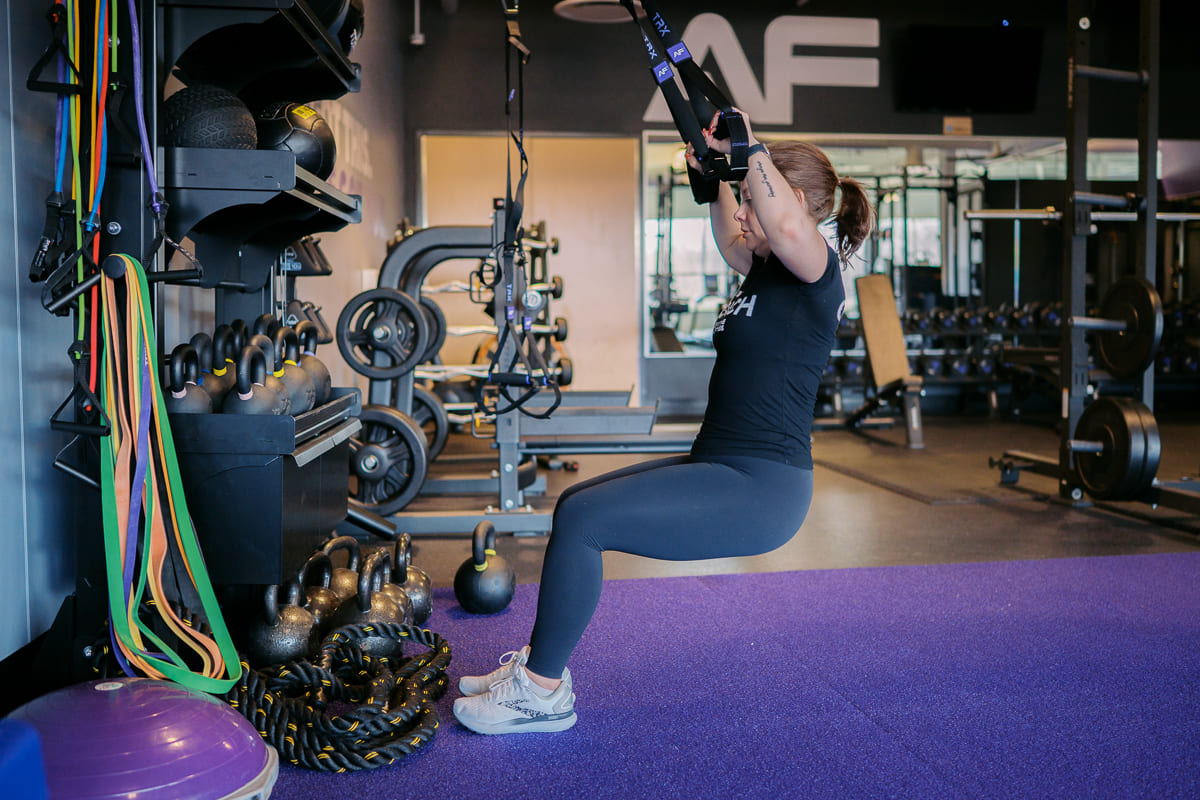
TRX pull-ups
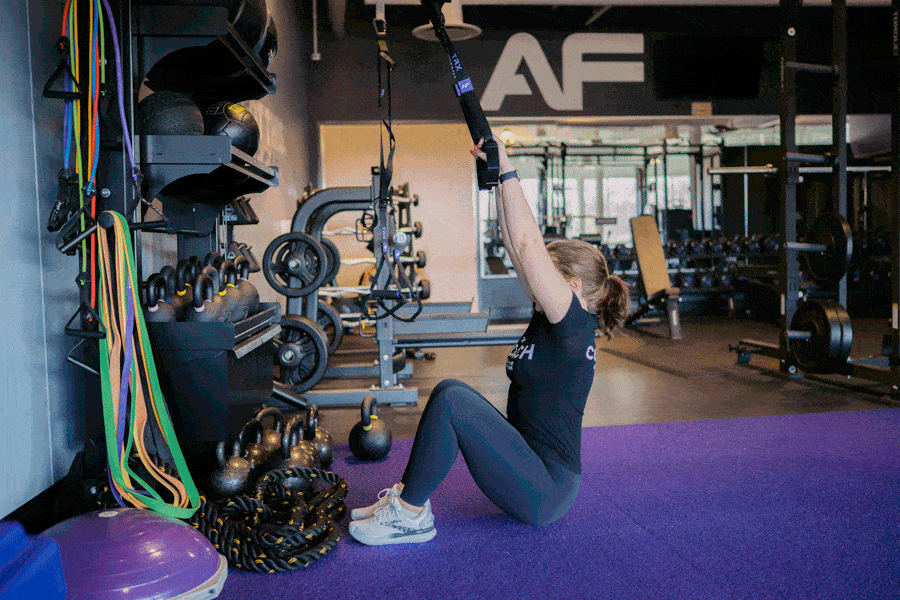
How to:
- Sit under the suspension straps, hanging onto the handles with your arms fully extended.
- Lift your chest and engage your back muscles to pull your body toward the anchor point above you. Use your feet to help lift some of your body weight if needed.
- Lower back down into the starting position.
Complete 3-4 sets of 12-15 reps.
Cable high row
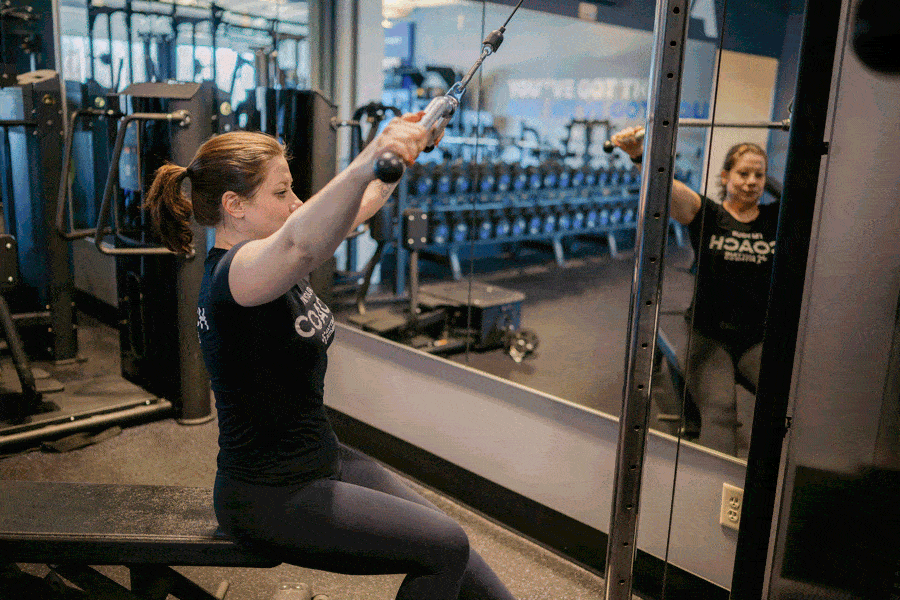
How to:
- Lean back slightly on the bench and hold the bar with a shoulder-width grip and arms extended straight overhead.
- Pull the bar down to the top of your chest, bending at the elbows.
- Straighten your arms fully, slowly returning the bar to the top position.
Complete 3-4 sets of 8-12 reps.
Single-arm bent-over rows
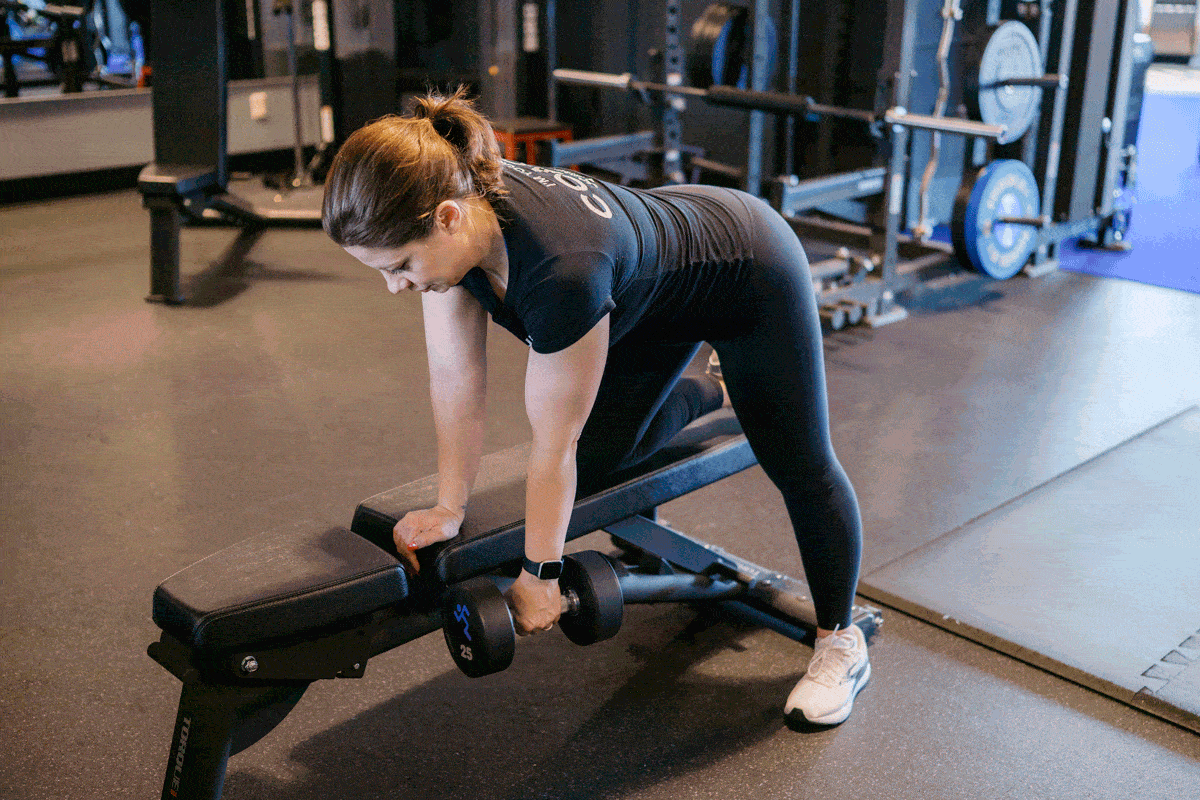
How to:
- Hold a dumbbell in one hand with your arm straight at your side. Place your opposite knee and hand on a bench, keeping your back flat.
- Lift the dumbbell to the side of your chest, bending at your elbow.
- Lower the dumbbell back to a straight-arm position. Keep your back flat throughout the rows.
Complete 3 sets of 8-12 reps per side. Complete all rows on one side before switching to the other side.
Dumbbell pullovers
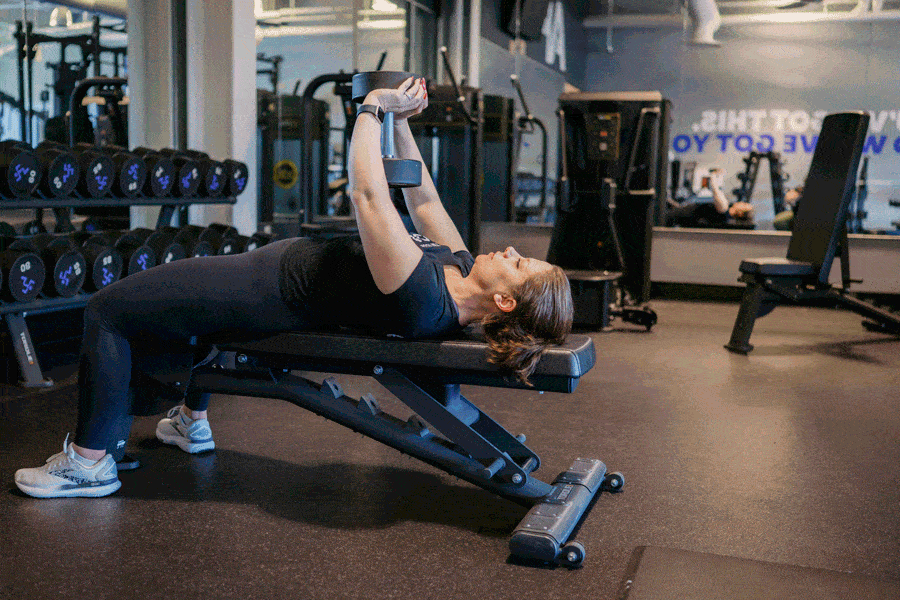
How to:
- Lie on your back, holding one dumbbell with both hands. Keep your arms extended over your chest.
- Lower the dumbbell behind your head, keeping your arms straight.
- Return to the starting position by raising the dumbbell back over your chest.
Complete 3 sets of 12-15 reps.
Hollow hold
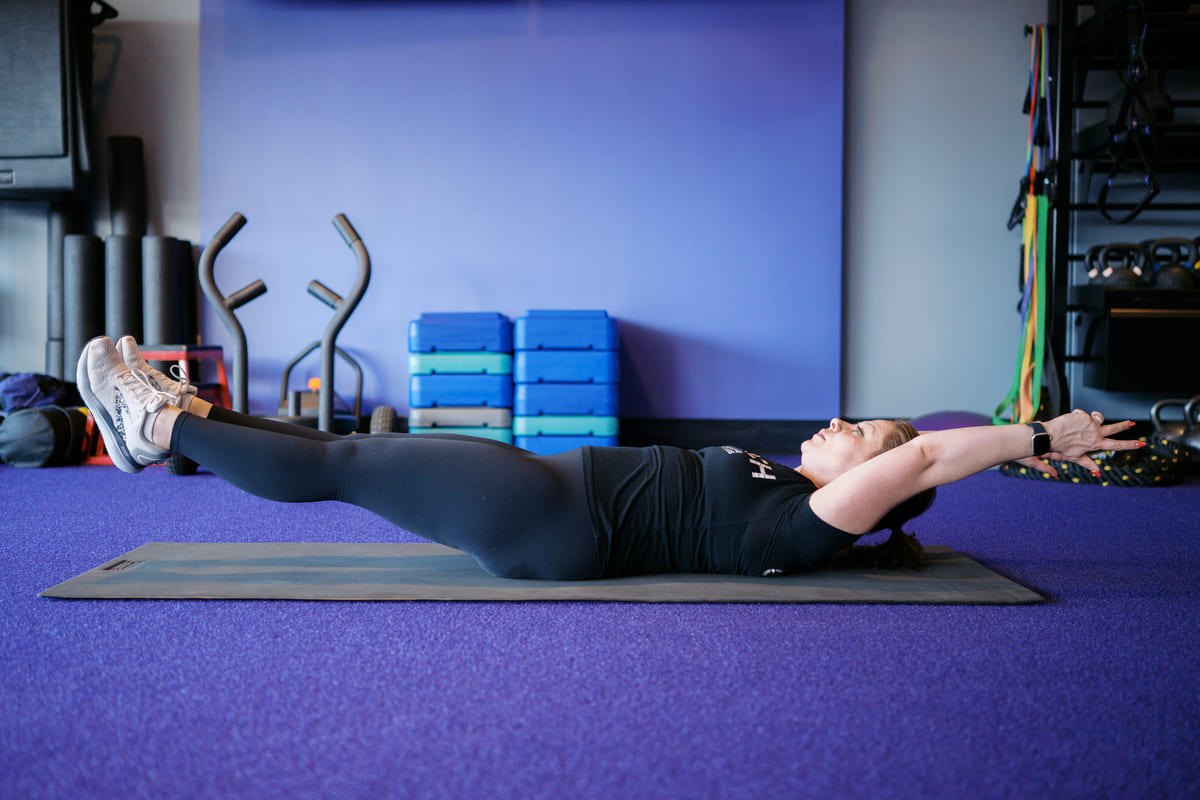
How to:
- Lie flat on your back with your legs straight and hands gently clasped over your midsection.
- Raise your legs and upper body slightly, until only your buttocks are touching the floor.
- Hold for several seconds, then slowly lower your body back to the floor.
Complete 3-5 reps and hold as long as you’re able. Remember to breathe throughout the hold and keep your reps smooth and fluid.
Pull-up training level 2: Master the pull-up fundamentals
Next up: It’s time to build grip strength, shoulder stability, and mental endurance. Here are drills to practice as you feel yourself getting closer to your first bodyweight pull-up. Consider these stepping stones that will prep your body and mind for a complete bodyweight pull-up. Add them to your routine one to two times a week.
Dead hang
How to:
- Hang from a pull-up bar with an overhand grip — palms facing away, hands slightly wider than shoulder-width apart. Stand on a box if you need help reaching the bar.
- Slightly bend your knees, letting your arms take the weight of your body.
- Hang for as long as you’re able, continuing to breathe throughout.
- Slowly lower your feet to the floor or box when you start losing your grip.
Complete three attempts for your longest possible dead hang.
Scapular pull-ups
How to:
- Hang from a pull-up bar with an overhand grip — palms facing away, hands slightly wider than shoulder-width apart.
- Keep your arms straight and focus on pulling your shoulder blades down and together, like you’re trying to pinch a penny between them.
- Slightly lift your body upward, focusing on scapular (shoulder) movement rather than bending your arms. Your body will only move a small amount.
- Hold the top position for one or two counts, then slowly lower back to the starting position and repeat.
Complete 3-4 sets of 8-12 reps.
Negative pull-ups
How to:
- Start in the top position of a pull-up with your chin over the bar and elbows bent.
- Slowly lower your body to a straight-arm position (dead hang).
- Jump or use a step to return to the top position and repeat.
Complete 2-3 sets of 5-8 reps, going as slow as possible on the way down. Over time, increase to 8-12 reps as you build endurance.
Band-assisted pull-ups
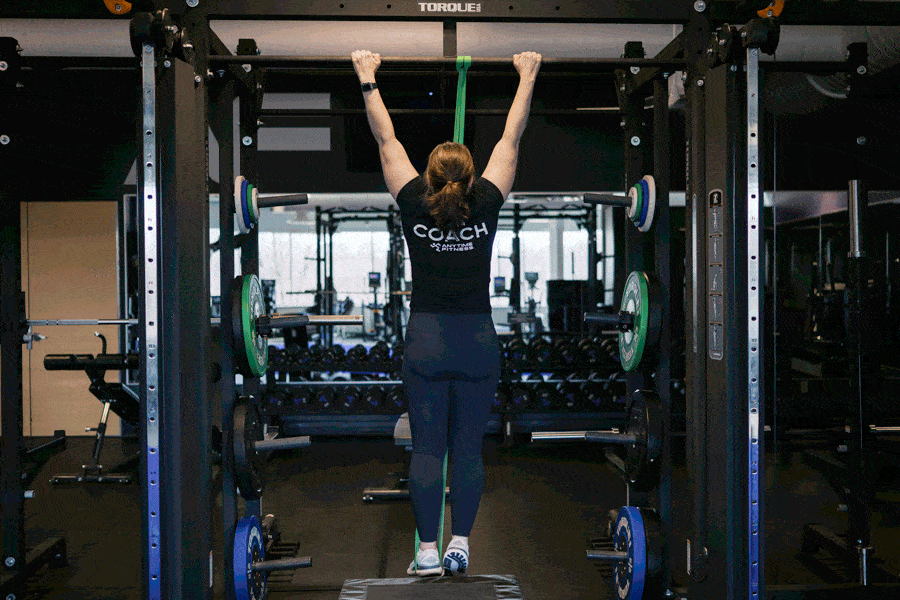
How to:
- Hang from a pull-up bar with a wide overhand grip. Wrap an exercise band under your feet and tie each end to a bar on either side of your hands.
- Pull your body up, bending at the elbows until your chin reaches the bar.
- Lower back down to the starting position with your arms fully extended, and repeat.
Complete 3-4 sets of 15-20 reps.
Pull-up training level 3: Practice and perfect your pull-up
How will you know when you’re ready to attempt a bodyweight pull-up? When you feel comfortable with the variations listed above, it’s time to challenge your body and try one unassisted.
Your first attempt at a pull-up may look a little messy, and your chin might not make it above the bar — that’s okay! Before you can do 10 pull-ups, you need to be able to master one pull-up, then two pull-ups. Keep practicing your pull-ups at least once a week and over time, your form and endurance will improve. The progression may be slow, but stick to it and don’t give up.
Without further ado, here’s how to do a pull-up!
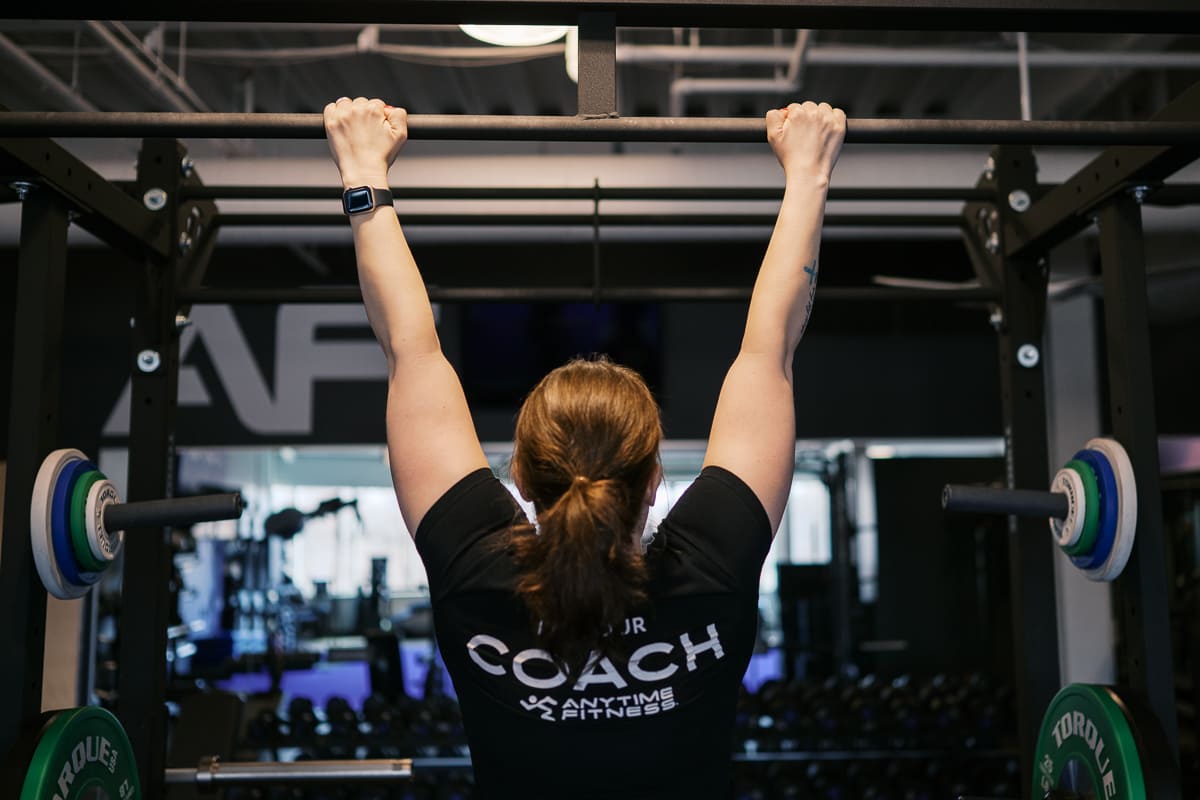
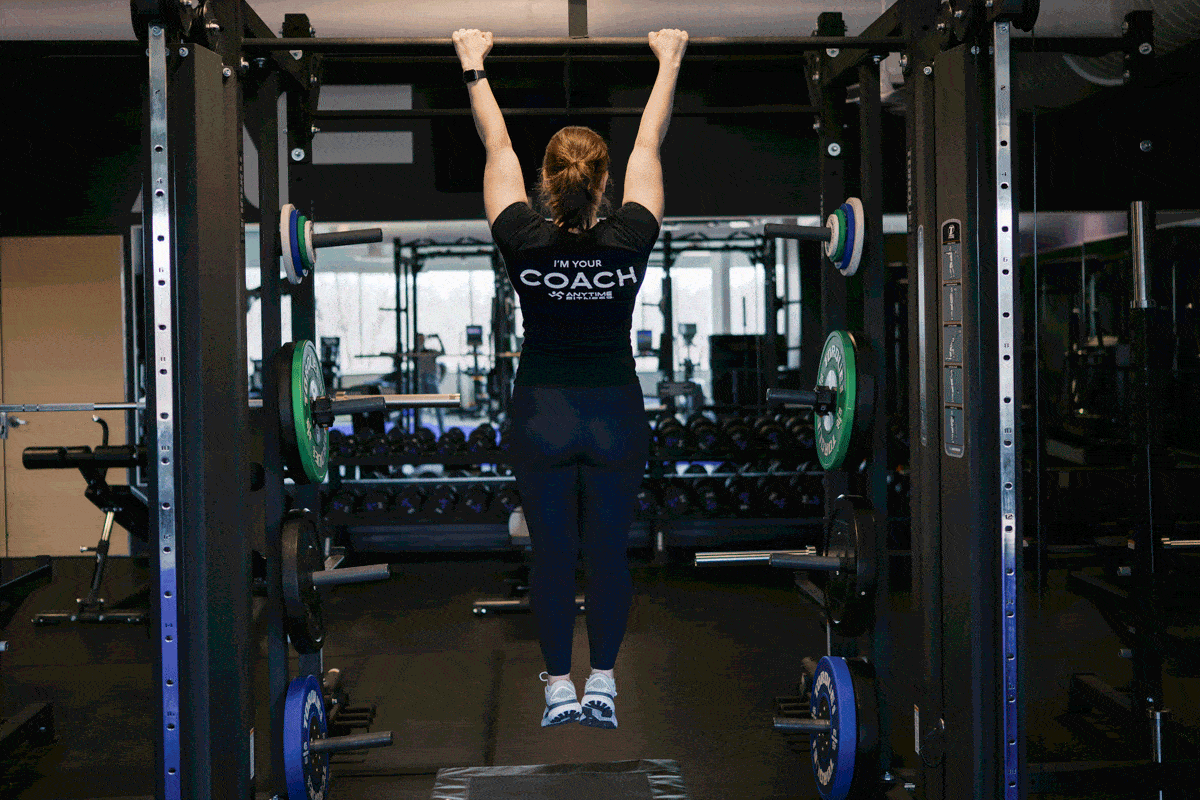
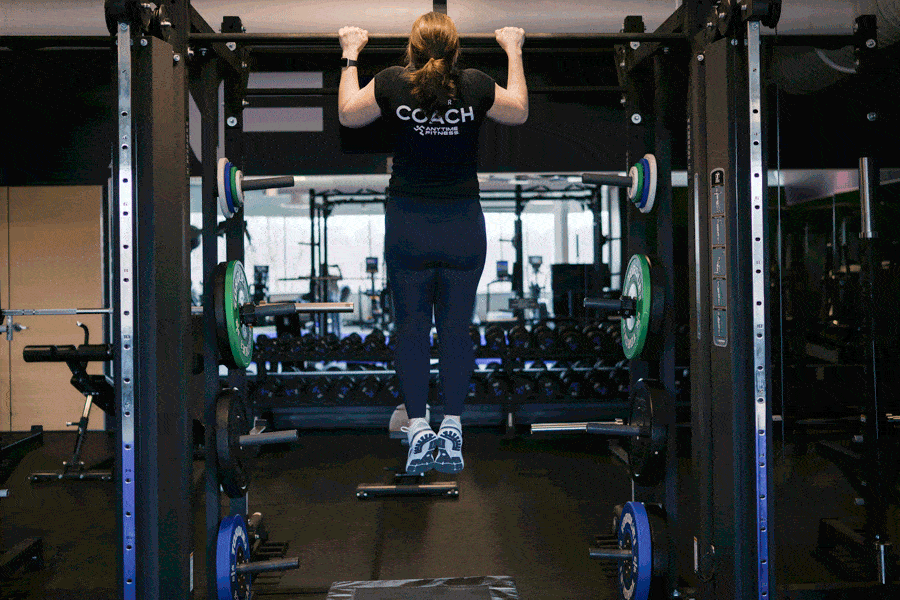
Strict pull-up
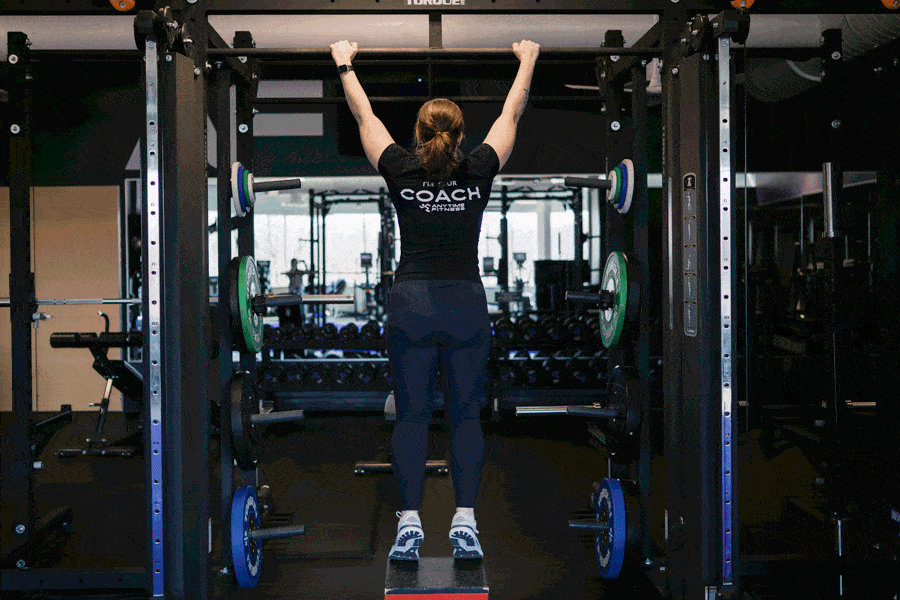
How to:
- Hang from the bar with your arms fully extended and your body in a straight line, from head to heels.
- Squeeze your shoulder blades together and pull your chest toward the bar to begin the pull-up movement.
- As you pull up, keep your elbows close to your body. Aim to bring your chin above the bar. Avoid swaying or jerking throughout the movement.
- Once your chin is above the bar, pause at the top.
- Slowly lower your body back to the starting position, with your arms fully extended.
Complete as many reps as you can.
4 tips to master the pull-up
- Try the “break the stick” method. Imagine you’re holding a stick above your head instead of the pull-up bar. Try to “break the stick” as you lift your chin above the bar — this encourages proper engagement of your lats and shoulder stabilizer muscles, making the movement more fluid at the hardest point.
- Stay consistent. If you want to learn how to do a pull-up, make sure you prioritize back workouts. Consistency is always important — especially when training for strength and endurance. The more you practice, the faster you’ll reach your goal.
- Fuel up. If you think a pull-up is hard when you’re properly fueled, imagine how much harder it is without energy from food! Eat a carb-rich snack or light meal about one to two hours before to boost your performance and energy. Afterward, eating protein supports muscle growth and repair while complex carbs kickstart recovery, helping your body prepare for your next workout.
- Get plenty of rest. To support muscle growth and strength gains, aim for seven to nine hours of sleep per night. Sleep is your body’s time to build and repair muscles, as well as replenish energy stores. Getting enough sleep also prevents overtraining, which could keep you from the gym or even cause injury.
Build back strength and confidence through pull-up training
Learning how to do a pull-up can be a winding journey, but it’s a chance to show yourself what your body can do. Keep in mind: What you train will be your result, so don’t be afraid to try a bodyweight pull-up as you get more comfortable with each step in the pull-up progression. If you can do one rep (or even half a rep), trying without assistance and practicing regularly is a surefire way to master the move.
Remember that your journey will look different from everyone else’s, but learning how to work up to a pull-up is rewarding in its own right. Stay patient and consistent, and you’ll be well on your way to a stronger back and core — not to mention improved mobility, body control, posture, and overall health.
More health and wellness tips for you
- What Is Functional Training? How to Make Everyday Tasks Easier
- How Fitness Rewards Can Help You Reach New Goals
- What to Do After a Workout: Your Ultimate Guide to Post-Workout Recovery
Whether you’re working your way to a pull-up or simply trying to get stronger, Anytime Fitness Coaches provide personalized support that takes your results to the next level. Book a free session with a Coach to get started.