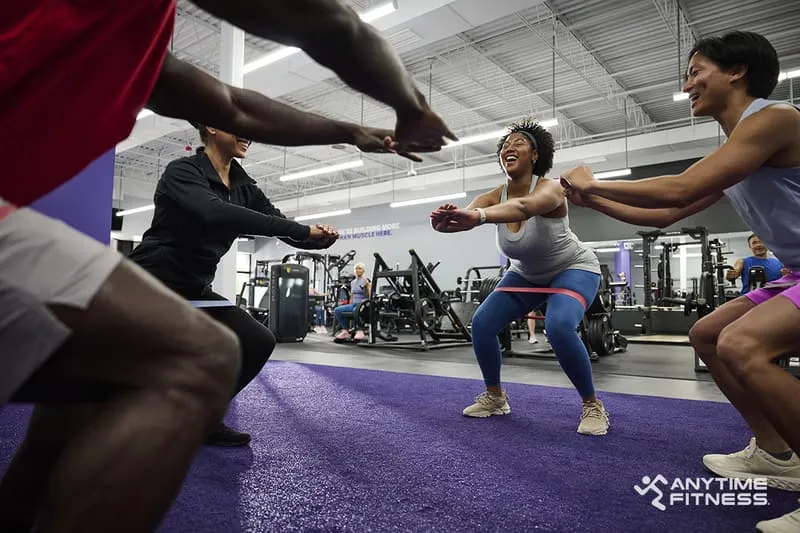

The rowing machine is an often overlooked piece of gym equipment — but it can be a valuable addition to any gym routine, no matter your fitness level or goals. Don’t skip out on the full-body benefits of one of the most versatile exercise machines. Let’s talk about why rowing is a good workout. We’ll cover:
- Is rowing a good workout for beginners?
- The benefits of rowing
- How to use the rowing machine
- A 15-minute beginner rowing machine workout
- How to incorporate rowing into your training routine
Is rowing a good workout for beginners?
Rowing machine workouts are measured by distance and effort — not by weight or rep count — so they are well suited for any fitness level and ability. The low-impact movement doesn’t take long to master, and you can control the difficulty and easily adjust the intensity throughout your workout.
As you improve your strength and cardiovascular endurance with the rower, you can gradually increase your stroke rate — or the speed at which you row — to up the intensity and your results.
Benefits of rowing machine workouts
Here are some of the other benefits of rowing machine workouts.
- Rowing is a full-body workout. Rowing targets every major muscle group in your body, including your back, legs, shoulders, arms, and core. It offers an effective combination of cardio and strength training in one machine.
- The rowing machine offers a high-intensity, low-impact workout. Unlike other cardio machines like treadmills, rowing has a minimal impact on your joints, so you can work out longer and avoid injury.
- Rowers are efficient and versatile. Rowers can provide a full-body workout in as little as 10 minutes or be a tool for your warm-up or cooldown routine.
How to use the rowing machine
In addition to resistance and stroke rate, using proper form is key to maximizing the benefits of rowing machine workouts. Rowing should feel like one fluid motion, but there are a few critical steps to get the results you want and prevent injury. Let’s break it down.
Step 1: The catch
In the starting position, your body is upright and your back is straight. You’ll begin with your knees bent and hands holding the handles in front of your body, with your arms straight out but relaxed. Avoid hunching your shoulders and keep your core engaged.

Step 2: The drive
During the drive, you’ll start to push away from the machine with your lower body, using your hips to generate power. While you push away, allow your arms to follow naturally. Once your arms cross your knees, you’ll start the rowing motion by pulling the handles straight back toward your chest.

Step 3: The finish
The finish continues the momentum you’ve built up in the drive stage. Continue the rowing motion, pulling the handle toward your body, below your chest line. Row until your elbows are at a 90-degree angle. Throughout the movement, keep your core engaged, your back straight, and your legs extended.

Once you’ve finished the movement, return to the starting position slowly and with control. Then, repeat!
What is a good stroke rate for rowing?
So, how fast should you row? There isn’t a hard and fast rule, but in general, 20–24 strokes per minute is an appropriate stroke rate for beginner rowers.
Listen to your body and find the balance between challenge and sustainability. As you row more, you’ll find that you’re able to maintain your stroke rate for longer amounts of time, or that your stroke rate increases. These are signs your body is getting stronger and your cardiovascular system is getting more efficient.
15-minute beginner rowing machine workout
Now, let’s put it all together in a 15-minute beginner rowing machine workout.
This beginner rowing workout is measured by duration and effort. Your stroke rate depends on your experience and fitness level. Remember that it doesn’t matter where you start — it matters that you focus on form and improve over time.
Here’s how the 15-minute rowing workout breaks down:
- Warm-up: Row for 3 minutes at an easy pace. Rest for 1 minute.
- Interval 1: Row for 3 minutes at an easy pace. Rest for 1 minute.
- Interval 2: Row for 2 minutes at a moderate pace. Rest for 1 minute.
- Interval 3: Row for 1 minute at a challenging pace. Rest for 1 minute.
- Cooldown: Row for 2 minutes at an easy pace.
A moderate to challenging pace should elevate your heart rate and engage your muscles, but your pace may be too intense if it compromises your form or causes discomfort.
Related: Heart Rate Training 101: The Athlete’s Guide to Success

How to make rowing part of your gym routine
While you can increase your fitness using only the rower, you’ll experience a broader range of benefits when you train using a variety of equipment, modalities, and formats.
Strength training can help improve your rowing performance, and vice versa. Rowing uses 86% of your body’s muscles in just one motion. Therefore, the stronger your muscles are, the more efficient and powerful each rowing stroke will be. On the other hand, rowing improves your body’s cardiovascular capacity and muscular endurance, which both help you exercise with more intensity.
To get the most out of the rower, aim to incorporate two to three rowing sessions per week into your gym routine, supplemented by at least two strength training sessions.
Related: The Best Treadmill Workouts to Supplement Your Strength Routine
Full-body circuit workout for rowers
Here is a full-body workout you can add to your routine to improve your rowing technique and overall strength.
Perform 8–12 reps of each exercise and repeat the circuit 3–4 times. Rest for 1 minute between circuits.
Lat pulldown
Lat pulldowns target major back muscles, including the lats, biceps, rear delts, rhomboids, and traps.
How to:
- Grasp the bar using a shoulder-width grip with your arms extended straight overhead.
- Pull the bar down to the top of your chest, bending at the elbows.
- Slowly straighten your arms fully, returning the bar to the top position.
Dumbbell Romanian deadlift
Romanian deadlifts work your posterior chain muscles, including your hamstrings, glutes, lower back, and calves.
How to:
- Stand upright, holding the dumbbells at your thighs with your arms straight and your feet hip-width apart.
- Lower the dumbbells to just below your knees, shifting your hips back and keeping your legs straight and back flat.
- Return to the upright starting position.
Plank to high plank
Planks are a foundational core exercise, strengthening your abdominal muscles and back stabilizers.
How to:
- Start in a low plank position on your toes and elbows, with your forearms flat on the ground.
- Place one hand under the same shoulder.
- Begin pushing your body up and place the opposite hand under the same shoulder.
- Straighten your arms coming up into a high plank position.
- Lower yourself back to your forearms, one arm at a time.
Leg press
Leg presses work your quads, hamstrings, glutes, and calves.
How to:
- Sit in the leg press machine with your knees bent and your feet shoulder-width apart on the platform.
- Press the platform out and away from your body, extending your legs fully.
- Bend your hips and knees, return to the start position, and repeat.
Box jump
Box jumps increase your explosive power, strengthening your lower body and core and emphasizing explosive triple extension in the hip, knee, and ankle.
How to:
- Face the box with a shoulder-width stance and your arms by your sides.
- Drop the hips back into a quarter squat and jump onto the box.
- As you jump, drive the arms up and forward.
- Land on the box quietly by quarter squatting to absorb the impact.
- Step off the box and repeat.
Single-arm bent-over dumbbell row
Single-arm rows help unilaterally strengthen and stabilize your back and shoulders.
How to:
- Holding a dumbbell in one hand with your arm straight, place the opposite knee and hand on a bench, keeping your back flat.
- Lift the dumbbell up to the side of your chest, bending at your elbow.
- Lower the dumbbell back to a straight arm position, keeping your back flat throughout.
- Complete all reps on one side before switching to the other side.
A final word on beginner rowing workouts
Whether you’re rowing to get your heart rate up at the beginning of a workout or to build full-body strength, the rower is a valuable gym tool.
Remember that the effort you put in determines your results — focus on form and consistency rather than your stroke rate. And as always, listen to your body. Need a break? Try a slower stroke rate. Up for a challenge? Increase the resistance on the machine. Over time, you’ll build the strength and endurance you need to master the rower.
More cardio workouts to try
- The Best Treadmill Workout in Just 30 Minutes
- 30-Minute Cardio Workout You Can Do Anywhere
- How to Use a Stair Climber to Burn Calories and Build Muscle
Want more workout tips for beginners? Team up with an Anytime Fitness Coach to get personalized training, nutrition, and recovery plans tailored to your unique fitness goals.