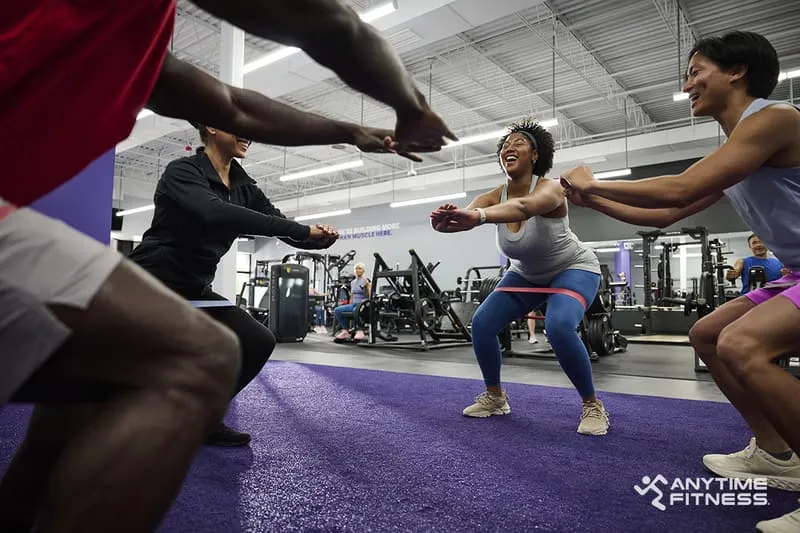

A lot of people gravitate toward familiar choices in the gym such as the treadmill or stationary bike for cardiovascular activity. But if you’re discounting rowing because you’ve never participated in the sport or tried the machine—or you’re afraid it’s complicated—we’ve got you covered!
Indoor rowing is a great way to mix up your cardio and get a full-body workout. The motion involves nine major muscle groups, including muscles in your upper body, lower body and core. The rowing stroke is an incredible range of motion, which helps improve flexibility in our notorious tight spots—while simultaneously strengthening many of our muscles that tend to be overstretched from poor posture! Not only that, but it’s a great way to boost endurance and burn calories in little time. According to Harvard Health Publications, it’s possible to burn anywhere from 300 calories to 500 calories in a half an hour depending on a few factors like age, weight and intensity level. As if those benefits weren’t a good enough reason to give it a shot, the activity is fairly low impact on your joints while providing a wide variety of intensity options. Chances are that it may take a few visits to the machine to figure out the proper form, but if you remember a few key steps, you’ll be on your way in no time.
Getting Set
Take a seat and begin by adjusting the foot plates so the strap is over the widest part of your foot. It’s important to secure the straps and experiment with what feels right for you. Placement of your foot is the most important step to generating power and keeping your ankles, knees, and hips feeling good throughout the process. If you’re trying out the rowing machine for the first time, be careful not to set the resistance too high; you want to be able to figure things out before cranking up the resistance to avoid improper form that could lead to injuries.
The Key Rowing Steps
The Catch
Now that you’ve taken a seat with your feet situated, bend your knees so that your shins are vertical, hinge forward at the hips, and reach out to grab the “oar” (handle). You arms should be fully extended with relaxed shoulders, and your torso leaning slightly forward. You want to have good posture, so be sure to keep your head neutral and spine straight and avoid rounding your shoulders. Your grip should be light on the oar, with your thumbs wrapped around the bottom loosely (you should be able to lift your thumbs and still perform the movement). Your wrists should be neutral—no flexing or extending. This starting position will set you up with the correct form for the drive phase.
The Drive
Your legs initiate and power the rowing movement. Begin by exploding through the legs by launching from your heels, as you continue to lean forward with straight arms. Once your legs are straight, hinge backwards at the hips to open your body into an angle of 120-130 degrees. Keep your back straight and engage your core as you lean back slightly. Finally, bend your elbows down to your sides and row the handle in toward your midsection (toward the bottom of your lower ribs). Be sure to pull the handle in a vertical motion and maintain the best posture possible (long spine, relaxed shoulders, neutral head and neck) throughout the drive. This part of the sequence should be one fluid motion, it shouldn’t feel like two separate parts.
The Finish
Think of this phase as a very brief resting position, only for 1-2 seconds at the most. Your legs are fully extended with a slight bend, your torso, upper back, and shoulders are leaning back, and your arms have pulled the oar into your body.
The Recovery
Now we will reverse the actions of the drive. Lean your torso forward to release your arms back to straight, hinging at the hips to move your upper body forward over your thighs, then bend your knees to slide back into the catch position. The hardest part with the recovery is keeping your legs straight long enough to release the row and lean forward with your torso. The recovery should take twice as long as the drive (one second for the drive and two seconds for the recovery).
Common Mistakes
Pulling the handle back, instead of pushing with your legs. Remember step #2 above? It’s called “drive” for a reason! The entire rowing motion is powered by muscles in your lower body, including: your quads, hamstrings, and glutes—not your biceps, shoulders, and back! Always remember to push through your heels, and then pull with your arms.
Having poor posture. One of the biggest mistakes we see a lot of people make is having poor upper body posture, especially as you get fatigued towards the end of your training session. Always remind to keep good form: chest upright, shoulders back, and core muscles tight. Poor posture can strain your neck, upper back, and even lower back and lead to injuries.
Raising your arms too high when rowing. Pull the oar directly to your chest—not to your chin! You should aim to pull the handle in a straight line from the machine to your chest. If you’re noticing that you’re finishing the pull up near your face, odds are that you’re “looping” the oar, which means you’re bending your knees before your arms are fully extended, causing you to make a scooping motion to avoid hitting your knees on the return. You don’t want that!
Rushing the recovery phase. Trust us, once you master the rowing motion and you begin to ramp-up the intensity, you will want to use the return to catch your breath. Instead of returning right to starting position, take a moment (2-3 seconds) to take a deep breath as you slide the seat back. This leads us to…
Focusing on speed over power. While it seems like you would go further the faster you row, that’s not necessarily true. Slower, more powerful strokes will propel you further distance over time, plus you’ll get a better workout, too.
More Rowing Machine Tips
Remember the Order
- Drive: Legs – Core – Arms
- Recovery: Arms – Core – Legs
Remember the Power Distribution
- Legs: 60%
- Core: 20%
- Arms: 20%
Remember the Timing
- Drive: 1 second
- Recovery: 2 seconds
Pay attention to:
- Time elapsed
- Your split time
- Total distance (meters)
- Strokes per minute
Common Rowing Terms
Ergometer: A device that gives the rowing machine the functionality to measure work output. This is where you’ll see how much time has elapsed, meters rowed, strokes per minute, calories, and other important information.
Stroke Rate: The number of strokes you complete in one minute. A stroke is one full cycle of drive, finish, and recovery. Stroke rates typically seen in cardiovascular workouts range from 24 strokes/minute to 30+ strokes/minute. Keep in mind, the faster the stroke rate does not always equal the better performance! Rowing is a combination of power and speed.
Split Time: A common measure of pace is the 500-meter split. This simply means how fast you could row 500 meters given your current stroke rate and power. Think of it this way: Runners talk about how fast they can run a mile and a rower talks about how fast they can row 500 meters. The smaller the number, the shorter the time, and the faster you are going!
How to Incorporate Rowing into Your Workouts
So you’ve got the basics of the rowing machine down. Now what?!
There are countless ways to get a great workout with the rowing machine, but the easiest way is to start by adding 5-10 minutes of rowing to the end of your cardio or strength training workout. Each week add a little more time until you’re comfortable spending 20-30 minutes on the machine.
Another way to use the rowing machine is to add quick intervals into your strength circuits as a way to spike your heart rate and burn extra calories. You can measure each interval based on time elapsed, or to hit a specific distance on each sprint. Or if you’re up for a challenge, set a goal for total meters at the end of a circuit, but only allow yourself a certain amount of time for each interval! (Example: hit 500 meters in three :30 second intervals.)
Don’t forget to check with Anytime Fitness clubs in your location, as some might offer rowing-specific classes and content! If they don’t, a coach will be able to explain their services, benefits, and how they can help.
No matter which way you decide to add-in the rowing machine, we can promise that you’ll have great workouts each time you use it. With so many different choices, try a new way each week until you decide what you like best. Some people will find they like to do long rowing sessions, while others like quick, powerful bursts.
.jpeg)